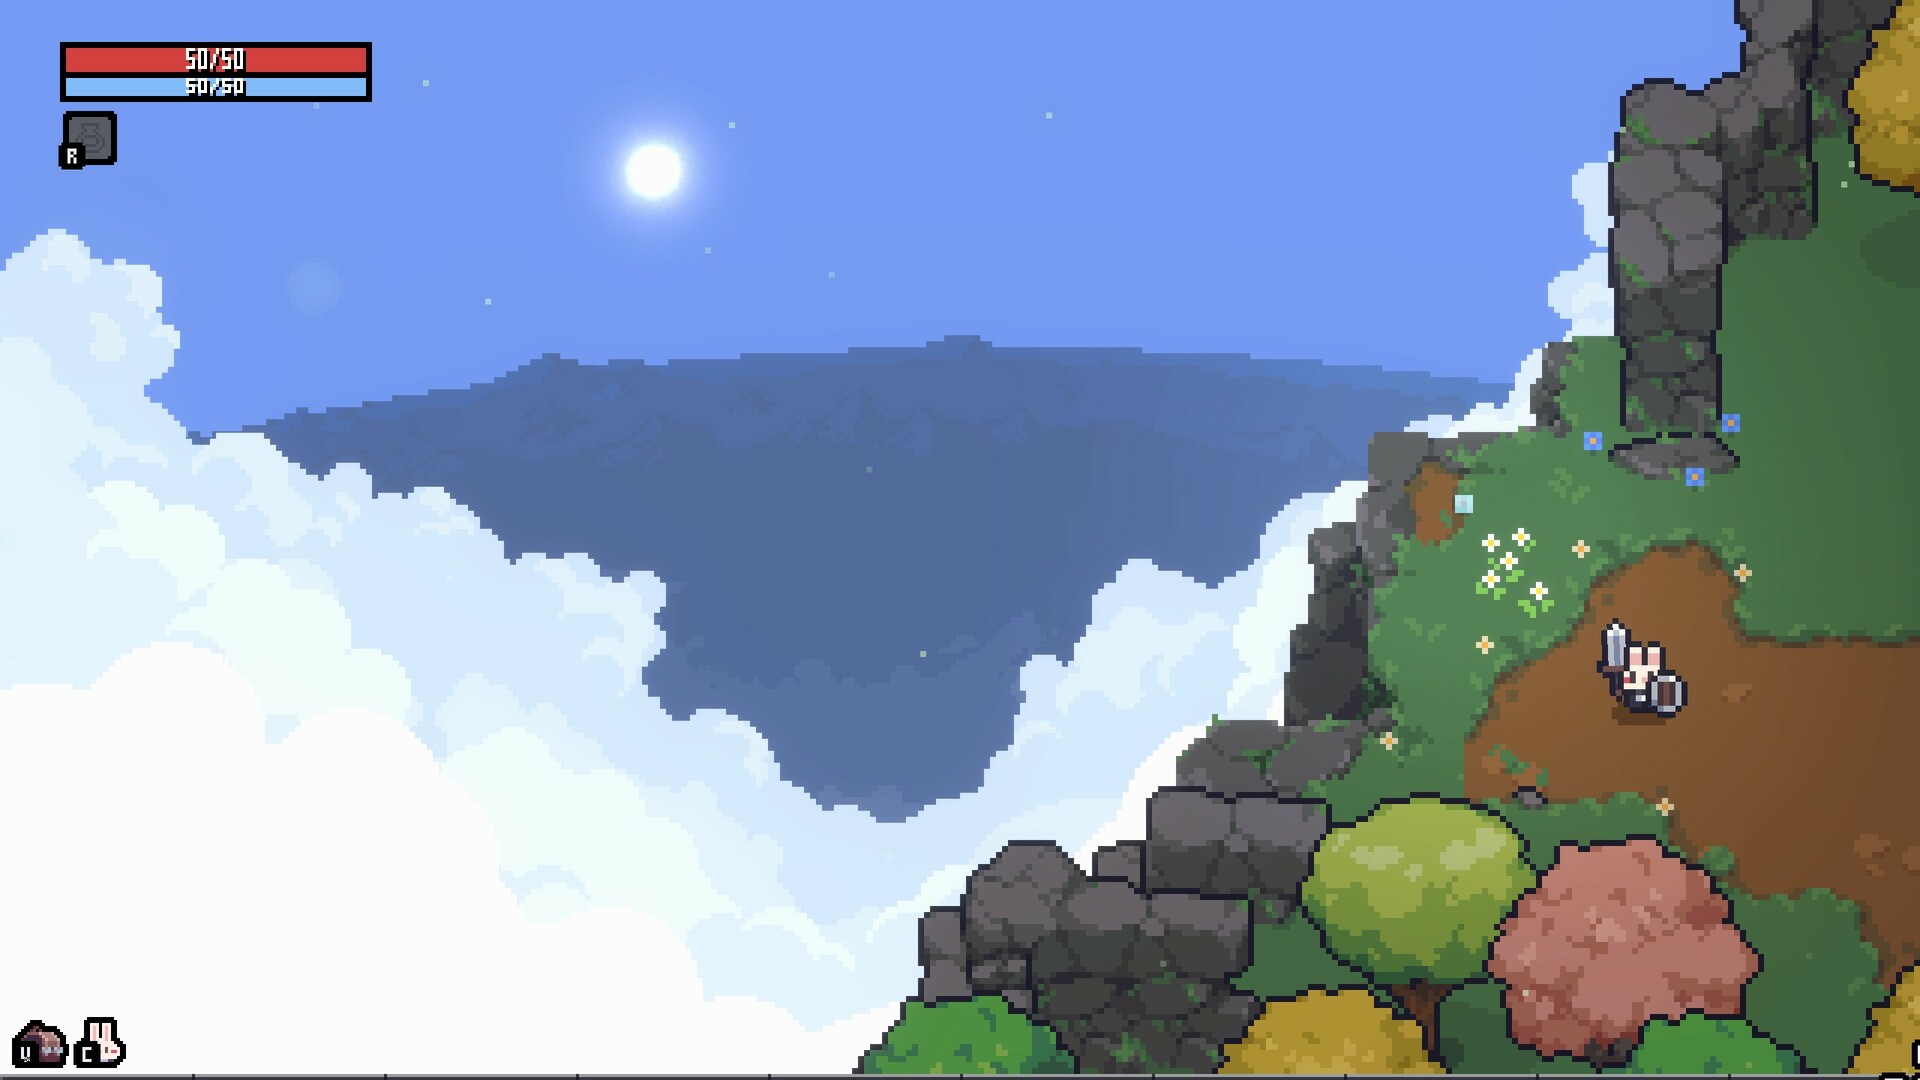
Official Sephiria action screenshot used to illustrate combat pacing.
Official Steam media · TEAM HORAYCombat baseline: attack commitment and blocking
Sephiria’s store-facing combat pitch is direct: fights use fast attacks and blocking. That pairing means the beginner mistake is not “forgetting a hidden meter”—it is treating every encounter as pure damage racing. Fast attacks create pressure windows; blocking answers telegraphed hits so you keep the board you already built instead of dropping a run to avoidable damage.
In practical terms, open early rooms by learning enemy wind-ups before you spend attention on inventory micromanagement. Once you can reliably block the patterns in front of you, you earn the calm required to rearrange Artifacts and Tablets between spikes. Controller users should confirm which face or shoulder button maps to block in their first minutes; keyboard users should keep movement and block on keys they can hold under panic.
This guide does not invent frame data or unstated i-frames. When a later patch changes feel, re-read the patch notes page rather than assuming the 1.0 marketing sentence still describes every edge case. The constant is the dual verb set—attack and block—around which the rest of the run systems orbit.
Early rooms are the cheapest classroom for Sephiria’s dual combat verbs. Watch enemy wind-ups twice before you commit to greedy damage, then practice releasing the block input the moment the hit lands so you can move again. If you play with a controller, map block to a shoulder you can hold while steering; if you play on keyboard, keep movement and block on opposite hands so panic mashing does not drop both. Log one failed pattern per death instead of restarting blindly—pattern memory is the real beginner unlock, not a hidden stat tree.
Inventory adjacency: Artifacts grant, Tablets enhance
Artifacts are the effect layer of a run: pickups that grant powers you feel in combat and exploration. Tablets are the placement layer: they enhance adjacent Artifacts, so the board geometry matters. A beginner who stacks Artifacts without reading adjacency is leaving free power on the table even when the individual pieces look strong.
When you open the inventory UI, treat empty space and direction as resources. Leave room to rotate or shift Tablets when a new Artifact arrives mid-run. Prefer boards you can explain in one sentence—“this Tablet line buffs the defensive column while the right side stacks offense”—over cluttered boards you cannot rebalance after a bad drop.
The Artifacts and Tablets wiki pages exist so you can jump from this habit into structured indexes. Until individual entries are fully verified, use those pages for launch-scale scope and placement theory rather than for fabricated rarity ladders or complete name lists.
When a Tablet icon appears, pause long enough to read whether it wants a left, right, up, or diagonal neighbor relationship in the UI you actually see. Then place it against the Artifact whose effect you already feel in combat, not against a speculative future drop. If co-op partners share inventory pressure differently, narrate the adjacency goal out loud so nobody overwrites a working cluster. Empty cells are not failure; they are rotation budget for the next elite room.
Six weapon branches and the upgrade pool
Version 1.0 ships six weapon branches and more than two hundred upgrades across that set. Beginners should pick one branch and learn its attack rhythm before sampling every branch in a single failed run. Branch identity matters because upgrades amplify what the branch already wants to do; random upgrade pickup without a branch plan creates noisy builds.
Use the weapons page when you need a clean comparison frame for the six branches. This beginner guide only insists on a process: choose a branch, survive long enough to see its upgrade offers, and only then evaluate whether a different branch solves a wall better. Co-op partners can specialize branches so the party covers close-range pressure and safer utility without everyone rolling the same kit.
Potions and costumes also appear in the 1.0 feature list (30+ potions, 20+ costumes). Treat them as supporting systems—consumable or cosmetic/progression layers—rather than as replacements for learning attack, block, and adjacency. Exact potion names stay off this page until first-party lists are captured.
A branch is a promise about how you will press attack for the next thirty minutes. Upgrade tooltips that add complexity you cannot execute are worth less than modest upgrades you land every fight. In a four-player lobby, assign who is allowed to experiment tonight so three players keep stable damage while one samples a second branch. Revisit the weapons page only after you can describe your current branch’s fail case in one sentence.
Chapter structure without story spoilers
The launch package is organized into six chapters. For beginners, that number is a pacing tool: expect the tower descent to change emphasis across chapters rather than to be a single endless floor type. Keep personal notes as chapter markers—“entered chapter band 2, board focuses on X”—instead of seeking spoiled boss names.
Hard Mode adds eighteen elements at launch. Ignore Hard Mode until you can clear a standard loop while still understanding your board. Difficulty modifiers punish fuzzy fundamentals more than they reward theorycraft copied from elsewhere.
When you are ready for route context, move to the walkthrough page. It holds a six-stop ledger that stays spoiler-safe: preparation, inventory checkpoints, weapon comparison points, and later stops that remain intentionally light until more first-party or reproducible detail exists.
Chapter bands change emphasis even when the store does not name every beat. Use chapter transitions as inventory audits: discard broken adjacency, reaffirm the weapon branch, and decide whether Hard Mode elements would teach you anything yet. If the answer is “it would only add noise,” leave Hard Mode off. Spoiler-safe notes beat spoiled boss scripts when you are still learning systems.
Online co-op entry points
Online co-op supports up to four players. Beginners joining friends should align expectations before dive-in: who hosts, which chapter band you are attempting, and whether the group is learning adjacency or racing progression. Shared runs fall apart when one player rearranges the mental model every room while others still learn block timing.
Communicate board goals in plain language—“stack adjacency on the left,” “I am staying on weapon branch A”—instead of assuming everyone knows unspoken tier lists. Because this wiki refuses unsupported optimal-build claims, your group’s first success metric should be clean combat execution plus readable boards, not maximum theoretical DPS.
If a session desyncs or a hotfix changes behavior, check patch notes before blaming teammates. Version labels and dates on the patch page exist so co-op groups can confirm they are discussing the same build.
Before a co-op descent, agree on host stability, voice channel, and whether the session is a teaching run or a push run. Teaching runs allow inventory pauses after hard rooms; push runs still need one person empowered to call a board timeout. If the lobby spans time zones or patch versions, confirm everyone installed the same hotfix from Steam news before blaming balance. Shared vocabulary—attack, block, adjacency, branch—prevents four people from describing the same failure four ways.
First-session checklist
Start a short session with five checks. One: confirm attack and block on your input device. Two: complete enough combat to see at least one inventory decision under pressure. Three: place at least one Tablet with intentional adjacency rather than auto-filling the first empty cell. Four: stick to a single weapon branch for the session. Five: write down which chapter band you reached and one board lesson to reuse.
After that session, read only the wiki page that matches your friction. Died to mechanics? Re-read combat baseline. Board felt weak? Open Tablets and Artifacts. Unsure what the game still contains? Skim the homepage systems ledger and patch notes. Avoid opening every database page at once; the field manual is designed for task switching, not for mandatory cover-to-cover reading.
Finally, remember the honesty rule that governs this site: if a name, number, or boss pattern is not in first-party materials or reproducible play evidence retained here, it does not appear as a fact. Short pages beat padded speculation.
End the first night with a five-line note: input device, branch choice, one adjacency success, one combat pattern that killed you, and the chapter band you reached. That note is more valuable than a copied “meta” board this wiki refuses to invent. Tomorrow, open only the manual page that matches the worst line. The field manual is a task router, not a novel you must finish before playing.
Frequently asked questions
Should I learn co-op before solo?
Either works. Solo is the cleanest way to learn attack, block, and adjacency without coordination overhead. Co-op is available for up to four players when you want shared tower runs; align chapter goals before starting. Solo is cleaner for learning attack, block, and adjacency without coordination overhead, while co-op for up to four players is best after everyone shares the same vocabulary for board pauses.
Do Tablets work without Artifacts?
Tablets are described as enhancing adjacent Artifacts. Plan boards around Artifact effects first, then place Tablets to amplify neighbors rather than treating Tablets as standalone attack stats. Tablets enhance adjacent Artifacts according to first-party feature language, so orphaned Tablets without meaningful neighbors waste placement budget even if the icon looks strong.
How many weapon branches should I try first?
Start with one of the six branches and stay there until you understand its upgrade offers. Sampling every branch in one early run usually delays both combat mastery and board literacy. Committing to one of the six branches long enough to understand its upgrade offers beats sampling every branch in a single early failure, especially when the upgrade pool exceeds two hundred entries.
When should I turn on Hard Mode elements?
After you can explain your board and survive standard combat loops. The launch package includes 18 Hard Mode elements; they are modifiers, not a substitute for fundamentals. Hard Mode’s eighteen launch elements should wait until you can explain your board and survive standard combat loops; modifiers amplify mistakes more than they replace fundamentals.