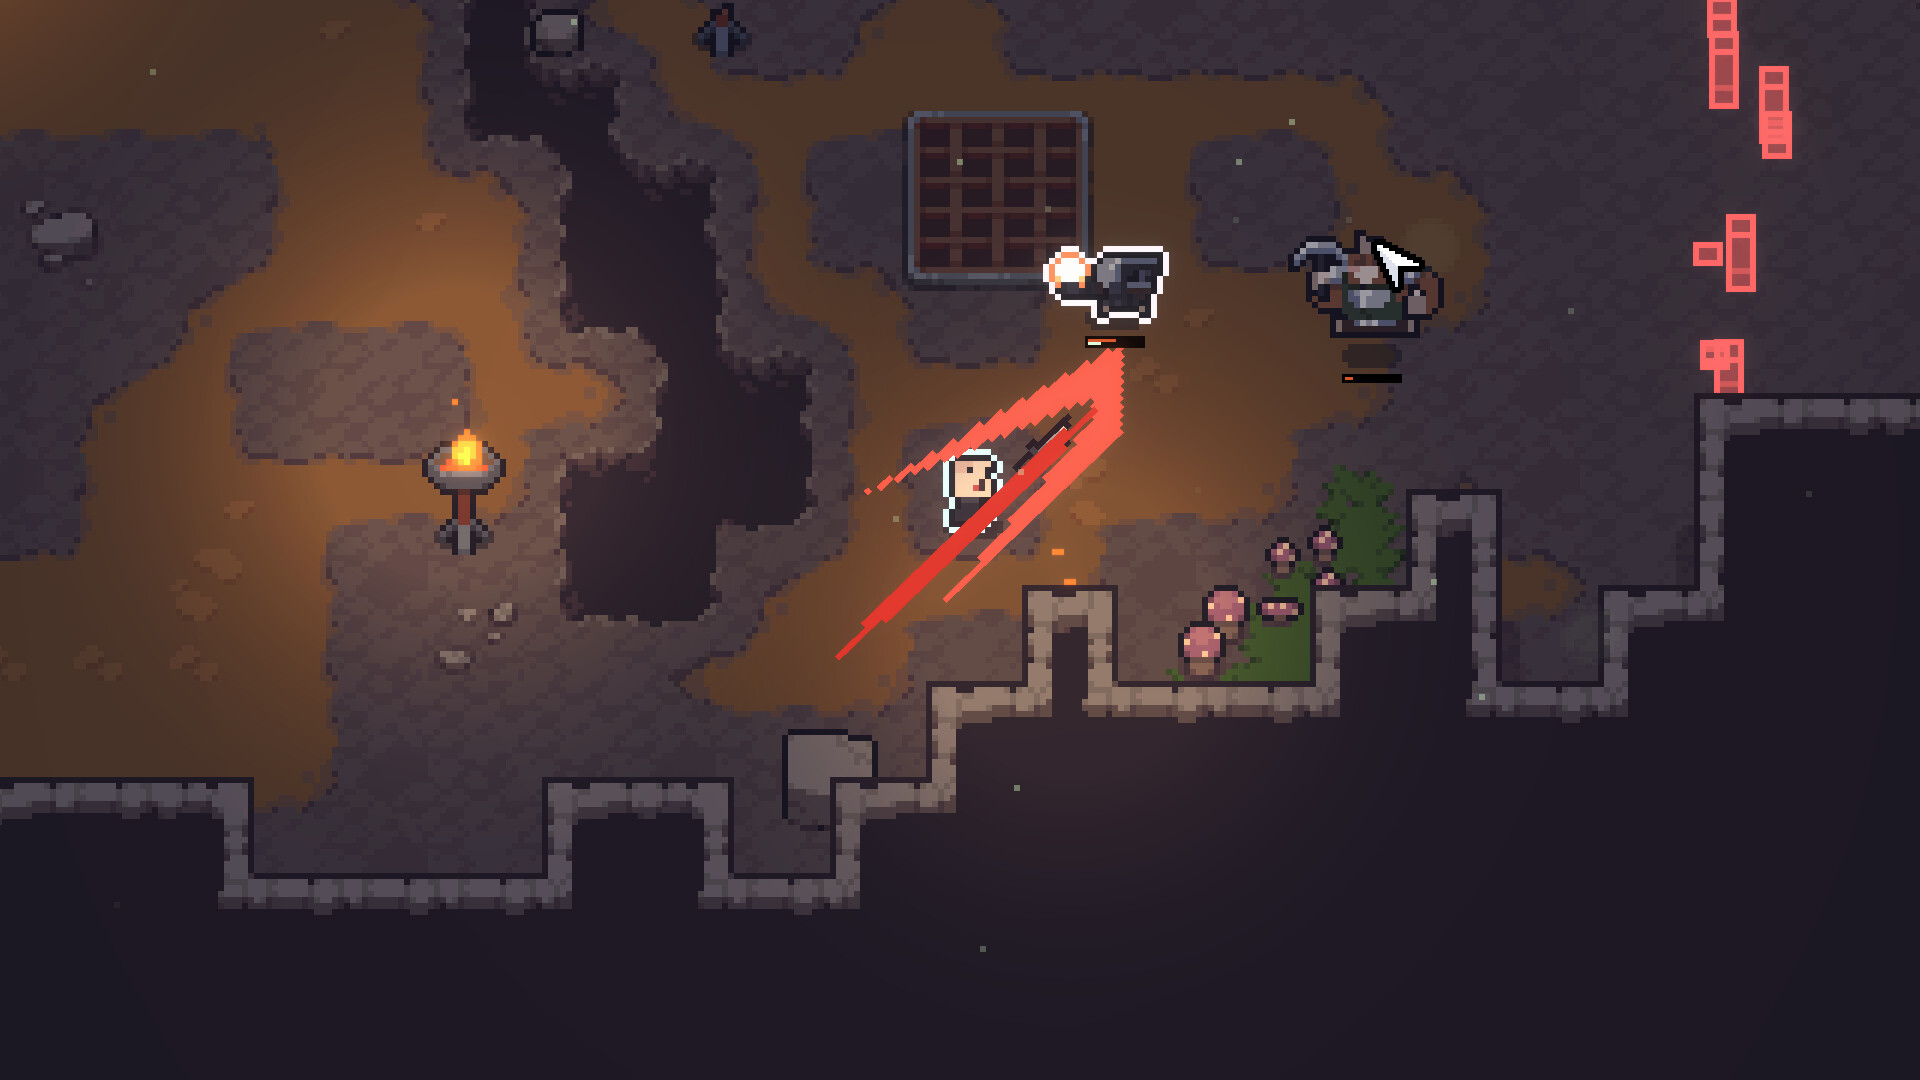
Official Sephiria tower combat screenshot from Steam.
Official Steam media · TEAM HORAYHow to read this walkthrough
TEAM HORAY’s 1.0 materials establish six chapters as the campaign structure. This page uses that number as a neutral spine. It does not invent chapter subtitles, boss names, or mandatory story dialogue. When a later first-party source or reproducible play log supplies those details, individual stops can deepen without rewriting the spine.
Each chapter band below is a checklist of player tasks: combat readiness, inventory review, weapon-branch check, and a reminder of which wiki databases answer mid-run questions. If you only need system help, skip to Artifacts, Tablets, or weapons instead of reading every band.
Spoilers are controlled by omission. We describe structure and systems, not plot twists. If a section would require an unearned reveal to be “complete,” it stays intentionally short.
Read each chapter band as a systems checkpoint rather than as a novel chapter title. The six-chapter count is the only structural promise this page needs from 1.0 materials. Everything else—exact room order, named bosses, dialogue—stays out until evidenced. If you arrived seeking spoilers, leave; if you arrived seeking a reusable checklist, stay.
Chapter band 1 — preparation and early combat checks
Treat the first chapter band as your calibration zone. Confirm attack and block timing against the earliest demon patterns, and make your first inventory decision only after you can survive without panic inputs. If you are playing co-op, use this band to agree on host, pace, and whether anyone is teaching adjacency live.
Connect this band to the beginner guide rather than to late-game theory. Your success condition is a stable combat loop plus one intentional Tablet placement, not a perfect Artifact set. Note which weapon branch you committed to; switching every room resets upgrade literacy.
When the band starts to feel easy, do not skip logging what worked. A one-line note—“blocked more than I dashed,” “left a free cell for the next Tablet”—is more valuable than copying an external build that this wiki will not endorse without evidence.
Chapter band 1 rewards boring competence. Survive with intentional blocks, place one Tablet on purpose, and refuse to re-roll your weapon branch every room. Co-op groups should treat this band as onboarding: slower clears, more inventory talk, fewer hero plays. Write down the first enemy family that forced a block habit so later bands have a baseline.
Chapter band 2 — inventory becomes the run
By the second band, Artifact count and Tablet adjacency should be conscious. Re-open the inventory after difficult rooms and ask whether each Tablet still touches the Artifacts you care about. Boards drift as you pick up new pieces; beginners often lose power by never reshuffling.
Use the Artifacts and Tablets pages as side doors when you need category reminders. This walkthrough stop only enforces the habit: rearrange under calm conditions, then return to combat. If co-op partners share economy or drops differently than you expect, clarify before resentment builds—this site does not invent hidden loot rules.
Weapon upgrades may start to define your branch identity here. Prefer upgrades that reinforce what you already successfully press in combat over exotic options you cannot execute.
Chapter band 2 is where boards start to rot if ignored. After any spike room, open inventory and ask which Artifacts still earn their cells. If a Tablet now touches filler, rotate it. The Artifacts and Tablets pages exist for category reminders, but the walkthrough stop only enforces the pause habit that keeps power real.
Chapter band 3 — weapon-branch comparison point
Mid-structure is a good moment to evaluate whether your branch still matches the problems you see. The launch package includes six branches and a deep upgrade pool; comparison is allowed, but comparison is not the same as constantly rerolling your entire plan.
If you truly change branches, accept a temporary power dip while upgrades catch up. Co-op teams can stagger branch changes so not everyone is weak simultaneously. Record the reason for a swap—“needed safer tools,” “wanted clearer attack timing”—so you do not thrash without learning.
Hard Mode elements should still be optional here unless you already clear standard loops cleanly. Eighteen launch elements can wait until fundamentals are boring in a good way.
Chapter band 3 is the honest branch audit. Ask whether your weapon identity still matches the pressures you see, not whether a stranger’s tier list would approve. Switching is allowed when you can name the failure mode; thrashing is not. In co-op, stagger swaps so the party is never entirely relearning inputs together.
Chapter bands 4–6 — spoiler-safe late structure
Later chapter bands remain deliberately light on narrative and boss scripting until first-party or retained play evidence fills them. What stays true is the systems stack: combat verbs, adjacency boards, weapon upgrades, and optional Hard Mode pressure continue to define success more than trivia.
Use these bands as endurance checks for board maintenance. Long runs punish neglected inventories. When a patch lands mid-climb, pause at the next safe moment and read patch notes for regressions that affect your branch or co-op setup.
If you came here looking for exact story spoilers, they are intentionally absent. Check characters for category context only, and rely on official trailers or your own play for narrative payoff.
Bands 4–6 keep narrative thin on purpose. What remains true is endurance: maintain adjacency, respect block timing, and re-read patch notes if the build suddenly feels wrong after an update. Hard Mode elements belong here only if standard loops already feel solved. If you need story, play the game; if you need systems, stay in the manual’s databases.
Reusable chapter checklist
At the start of any chapter band: repair your mental model of attack and block, screenshot or note your board if needed, and confirm weapon branch intent. Mid-band: reshuffle Tablets after major Artifact gains. End-band: write one sentence about what failed and one about what scaled.
This checklist works for solo and for groups of up to four. In co-op, assign one player to call inventory pauses so the run does not only ever stop on deaths. Shared discipline keeps the six-chapter structure readable instead of chaotic.
When the checklist is more detailed than the available official story facts, that is correct. A walkthrough can be useful without pretending to know unpublished names.
Print or pin the reusable checklist near your monitor: combat competence, board repair, branch intent, version label. Running the checklist takes under a minute and prevents “I thought we fixed that” arguments in co-op. When official materials later name more chapter detail, add it under the same stops without rewriting the spine.
- Combat: can you block the current pattern set on purpose?
- Board: does every Tablet still enhance a chosen Artifact neighbor?
- Weapons: are upgrades reinforcing the branch you actually press?
- Meta: are you on the patch version you think you are on?
Frequently asked questions
Will this walkthrough name every boss?
Not until first-party or retained reproducible evidence supports those names. The six-chapter spine is confirmed at launch scale; detailed encounter scripts stay out rather than being invented. Boss names and scripted beats stay offline until first-party or retained play evidence supports them; the six-chapter spine is the verified structure this page commits to today.
Can I use this in co-op?
Yes. Online co-op supports up to four players. Use each chapter band as a shared checklist and pause for inventory adjacency decisions together. Online co-op for up to four players can share the same chapter-band checklist if the group agrees on inventory pause rules and host stability before the descent starts.
Where do Hard Mode elements fit?
They are part of the 1.0 package as 18 elements. Add them after standard chapter bands feel stable; this page does not list unverified modifier names. The eighteen Hard Mode elements belong after standard bands feel stable; this page does not invent modifier names that Steam has not listed in retained research.
What page do I open when stuck on items, not route?
Leave the walkthrough and open Artifacts, Tablets, or weapons. Route structure and item systems are intentionally split. Item and board problems should bounce to Artifacts, Tablets, or weapons so route structure and system lookup remain separate player tasks. Keeping those doors separate prevents route spoilers from mixing into inventory troubleshooting mid-run.